September 2021
Well, it was quite an experiment and quite the learning experience. I got two years of irrigation out of this system, but in September 2021, I took it all out, when a professional irrigation system was installed.
The Shrubblers worked great for what they were. But they way I installed them I completely overextended their range and as a result got no water pressure at all. Just dribbles. And there was no real way to winterize the tubing. I brought the timers in, and shut off the faucets, but that was all I could do.
The Shrubblers worked great for what they were. But they way I installed them I completely overextended their range and as a result got no water pressure at all. Just dribbles. And there was no real way to winterize the tubing. I brought the timers in, and shut off the faucets, but that was all I could do.
Surprisingly, the second spring after a hard winter, the tubing was fine. But that could not have lasted for many years.
I had to run the hose across the kitchen doorstep to provide water on the east side. That was a pain to hook it up to the faucet every other evening, and it was not great to have to step over it.
But the whole contraption worked, kind of. It accomplished my goals: to keep things alive --not thriving and not well watered, but alive -- when we were away, and to supplement all the hand watering I still needed to do.
But now I know I need a real irrigation system, professionally installed.
Here's the whole story of my foray into irrigation:
🚰 Schedule
West Side
Galcon model 9001BT (two)

2021 = 238 gallons (in 2020 = 344 gallons)
Timer set for 3x a weekSun.MON.Tues. WEDS.Thur.FRI.Sat.
Starts at 6:30 a.m. Potting bench curve, fence line, garage corner
90 minutes
(in 2021 changed to 60 minutes starting at 6 a.m.)
Starts at 8 a.m. Guest room corner
45 minutes
(in 2021 changed to 30 minutes starting at 7:30 a.m.)
💧 💧 💧 💧 💧 💧 💧 💧 💧 💧 💧 💧 💧 💧 💧 💧 💧
East Side
Orbit 2 Outlet model 24713

2021 = 257 gallons (in 2020 = 395 gallons)
Timer set 3x a week SUN.Mon. TUES.Weds.THUR.Fri.Sat.
Starts at 6 a.m., sections run consecutively
Dining room window, hollyhocks, driveway strip, under pine
90 minutes
(in 2021 changed to 60 minutes starting at 6 a.m.)
Kitchen courtyard
60 minutes
(in 2021 changed to 35 minutes consecutively at 7 a.m.)
Hook up the hose to faucet by kitchen the night before any auto watering!!!
~ 495 gallons - all systems 3 hours in 2021
238 gallons west side
257 gallons east side
~ 740 gallons - all systems 4.75 hours in 2020
344 gallons west side
395 gallons east side
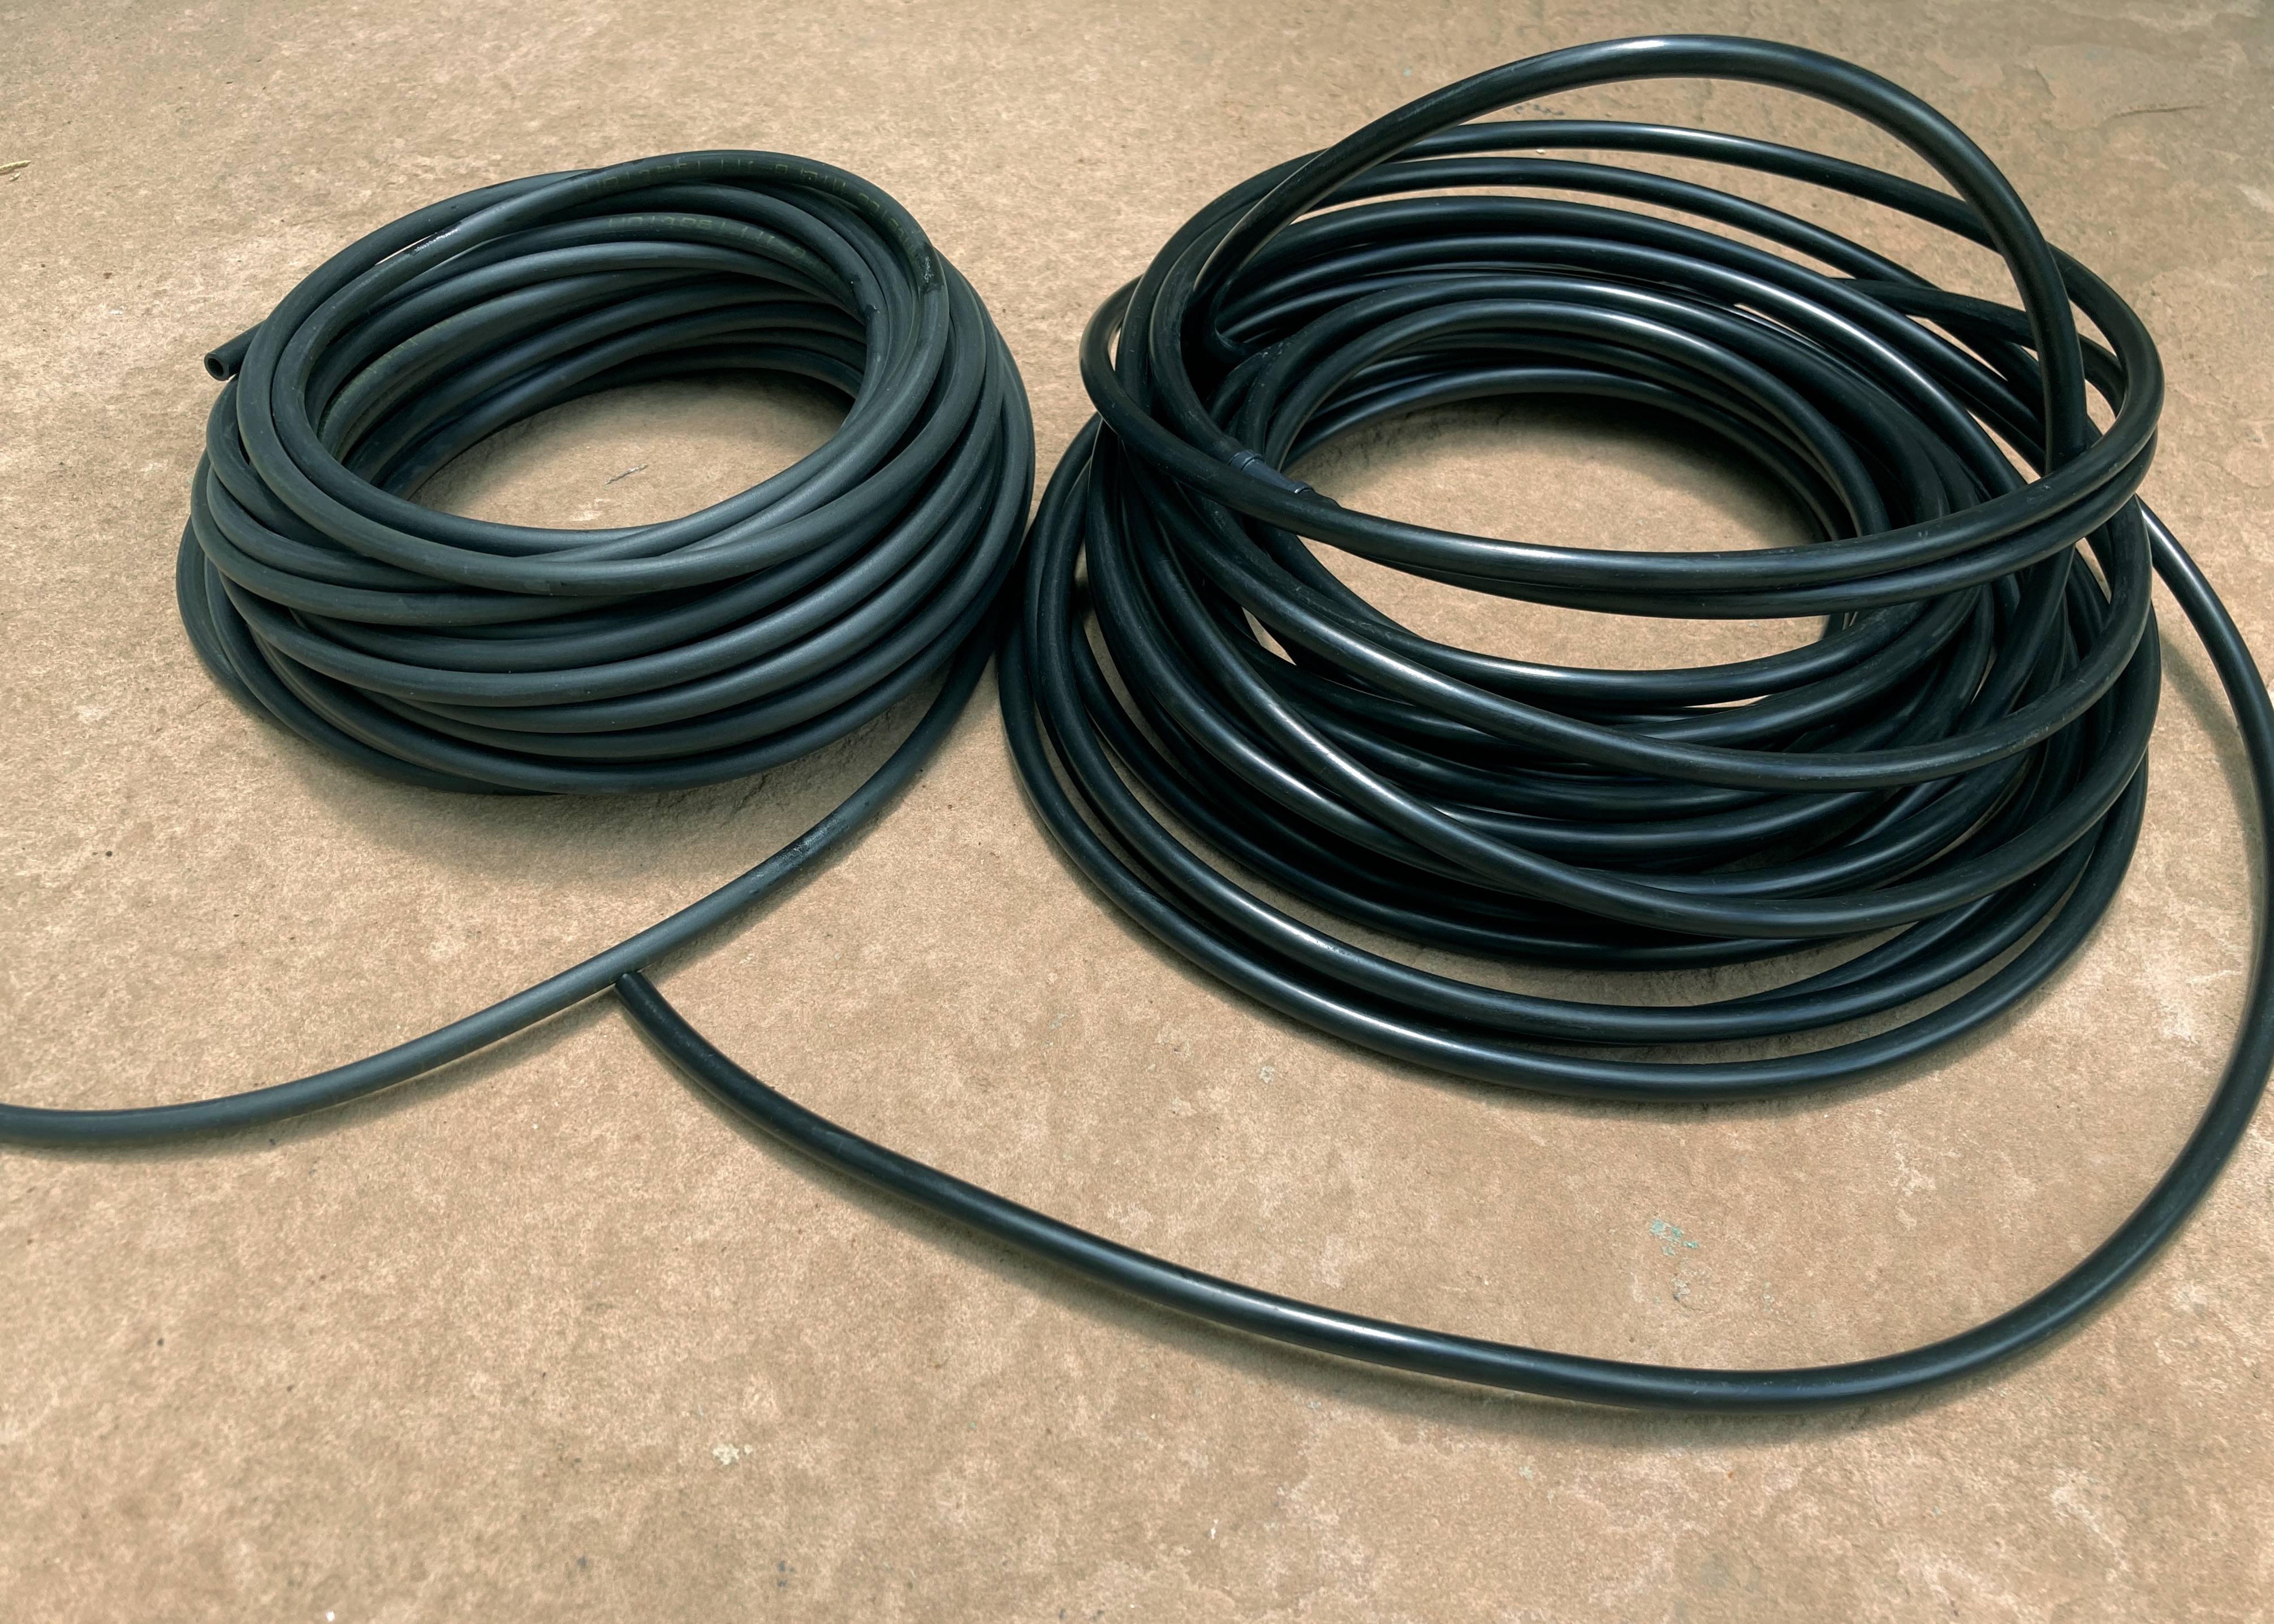
 Lee Valley sells a kit of "Shrubbler" lines that can be arranged like this picture to drip spray my gardens, including any pots I place there, in any configuration.
Lee Valley Shrubbler Kit. It's $56.
You get 50 feet of a main feeder line (1/2 inch) and 50 feet of side lines 1/4 inch that you attach to the feeder. You punch holes in the main feeder line where you want a side line to go. You only put a side line where a plant needs water, you don't have to soak the whole area the same amount.
I can water individual plants, which is what I need.
Adjustable emitters sit on spikes and sprinkle 3 feet fully open, or drip a smaller diameter turned down. The kit has 25 emitters and all the connections needed.
The lines can be buried under mulch but the emitters have to set up above ground to sprinkle or drip. The 1/2 inch lines are supposed to be flexible.
 To get from the faucet out to the garden is the issue!
The main feeder line hose has to lay across the patio or the kitchen door area to reach the gardens from the faucets, at least to reach the kitchen courtyard, dining room window garden, and the garden by the garage wall (really just the redbud, fragrant aster and clematis. The sumacs there could go week without water.)
The gardens that would be fed off the back faucet . . . the potting bench curve, Peggy Martin rose area and the strip by the fence, could have the header hose buried under the gravel and be a permanent installation.
The soaker hose system I got (also from Lee Valley) doesn't work. The hoses are not very flexible, and hard to weave around my plants. Soakers are for straight rows that all want the same amount of water.

The hose has to be right up against each plant to soak it, they don't sprinkle out any distance, and you can't stop an area from getting soaked -- it emits all along the length of the hose. It's hard to leave the hoses in place, they can't really be buried under the mulch very well.
After storage in the garage there are a few kinks and water pours out too fast at the kinked area. Anyway, they're hard to set up and arrange for control.
I ordered 2 full Shrubbler systems That's 50 total individual emitters. Also some connectors and header hose lengths.
Here's how it went:
June 20, 2020
The Shrubbler system arrived and I think I can make it work. Tedious to install, laying it out is a design challenge and the parts are tiny and hard to manipulate. I find I need additional parts that have to be ordered. But I'm getting the hang of it.
The potting bench curve extended to the fence line garden by the patio table uses one set (25 stake emitters, 50 feet of main feeder line) from the back faucet all the way to the end of the fence line garden. Exactly.
Then the main line goes all the way over to the fence line garden, uninterrupted past the juniper. In the narrow, straight fence line garden I don't need individual stakes running 1/4 inch side lines off the main line. I'll just get emitters that plug right into the main line, called barbs.
(Shrubbler "barbs" shown below, I accidentally ordered 6 not realizing they come in packages of 5!! -- So I'll have 30 of these. I can use them.)

If I connect the extra 50 feet of main line I bought to the end of the system at the fence line, I can snake it under the Chinese privet and Spanish broom and Rose of Sharon, and set up some emitters in the garage wall garden for the clematis and aster and redbud there. Will water pressure be an issue along that much hose?
In the kitchen courtyard, I'll connect the Shrubbler main feeder line to the hose on the other side of the fence in the dining room window garden, then run one 1/4 inch side line back under the fence to the kitchen side.
Off that one side line I can attach in-line spikes and more side line hose -- I got 2 packages of 6 -- to cover the small area without having another main feeder line snake through there.
Design challenges! But I think this can work.
Also ordered for delivery in mid July -- 3 connectors to the faucet + leader hose and a smaller Shrubbler set (for raised beds) that will work to get a line down to the Peggy martin rose area and water that.


June 21, 2020

The Shrubbler irrigation kit came this weekend and I've been laying it out and hooking it up. Need to order some more parts, though, so the project is on hold for a bit.
I am so, so tired from what little I did so far. It's hands & knees, up and down, back and forth work. Not anything heavy, but tedious physical moving around, kneeling, stretching., etc. I tire so easily now. So far what I have put down works.
And it's been mentally challenging to figure out what to hook up with what and where to put it . . . pretty taxing. But I'm getting the hang of the workings and the design I need.
When it's finally all hooked up I'll need to go around and bury the hoses under gravel and mulch to hide them. The little sprinkler heads are not visually intrusive at all.
I need to keep in mind this doesn't have to be done all at once, and I'm waiting for more parts anyway. I need to pace myself.
June 27 I'm Irrigating!
I got the first section of Shrubblers installed -- the potting bench curve and the strip under the fence by the patio table, which now has just a row of Blue Ice amsonias, with the peony, alliums and Immortality iris at either end. I also have hose extended to the garage wall garden for the redbud and clematis, but haven't put in the emitters yet.
Hard work. Here's what I have learned about using Shrubblers so far.
- They're not really designed for a full, robust irrigation system. This is a micro irrigation system, delicate, small, with little parts that are easily dislodged.

- Despite the claims that the spikes will throw water in a three foot circle when opened fully, they only cover about a 10 inch circle when fully open. The spikes just aren't very tall, and the arc of spray is very limited. So I had to add lots and lots of emitters about every foot or so, basically one spike for each plant.
- The tiny caps on the emitters can be easily twisted down for a dribble or opened up for a delicate fountain to sprinkle a 10 inch circle. But the caps have no stop on them, so when opening up, it's easy to pop the cap off entirely. And if they are anywhere near full open, sometimes water pressure pops them off and sends the cap flying unexpectedly and a jet of water spewing. It's an issue . . . I need a reliable system for when we are away, and not a system that can spontaneously destruct.
But they work. They ran for an hour today and got the areas soaked that I needed. I added wood chip mulch over the hoses to hide them. The little sprinkler heads still show, but not noticeably, and plants will fill in around them.
Now if only the system stays intact and no caps pop off and no 1/4 inch tubes slide off the fittings . . . the system is so dinky and delicate and easily disrupted and the minute a tube or cap is dislodged, the system fails, and water jets out without stop.
June 30
I ran a Shrubbler line down under the gravel of the upper part of the guest room alley, draped it over the railroad tie and set up sprinklers at each plant. A lot of work, but it functions!

I used the in-line emitters that hook into each other via the 1/4 inch tubes, and by the third emitter in the line, there is no pressure, just dribbles. You can't really hook up a half dozen heads in a string along the 1/4 inch tubing the way the pictures show.
But the dribbles work if placed right at the rootball of an amsonia.
Eventually the amsonias will fill in and make one continuous shrublike ground cover in this little arc.
Right now I'm pretty happy with the irrigation, the healthy little plants, the big rose and the two trees that are growing well.
And I'm really happy that it's now a view with nice edging, and no longer a forgotten corner.
July 2
Tackled the second half of the irrigation.
This morning was spent laying out the second half of the Shrubblers system -- the dining room window garden, ajugas, driveway strip and kitchen courtyard -- and it took forever. It was a challenge to figure out how to split the lines for all the separate spaces, but I engineered it, and it will work.
 |
| Hidden behind the upright rock, the hose splitters and controls, tied to the fence pipe, are not seen. |
 |
| I reach around the rock to open and close the valves, easy enough. But can I get two timers hooked up on there? |
The good news is the lines in back work. I watered (dribbled) for 3 hours this morning. Hard to tell how effective that is. Gallons used = 741. That's excessive! 3 hours is too much, even though it's just dribbling at each individual plant.
The guest room window garden ran for an hour and a half, and that's too much too. Water was pooling in the pink rocks below the curve of the garden. Not good.
I have to experiment to see how much to water. If I can get the rest of the system in by the end of this holiday weekend I'll spend the rest of July timing and measuring and watching.
My goal for when we go away is to keep things alive, not to do a full and extensive deep watering. When I'm here it can be just supplemental watering and I can still hand water what I see that needs more.
But boy, do things look good with Too Much Water.
July 3
Still at it. Boy am I getting tired of this project. Bone aching tired, and I just want it done.
I got the kitchen courtyard line and emitters installed and the hollyhock strip and the driveway strip. The driveway strip was a pain. I spent an hour on it. No matter how well I buried the 1/2 inch leader line, it popped up above the gravel.

But it works. Unfortunately there's one issue -- the emitter at the new kniphofia is right at the rootball and it's too much. I've dialed the cap down, but it's still too much water there.
 |
| Soft tubing on the left is hard to push onto the connectors. Stiffer tubing on the right goes on easy peasy. |
When I opened the second kit of 1/4 inch tubing, I found it was different. Much thicker and shinier and sooo easy to slip on over the tiny nozzles.
A lot of my frustration and time spent has been with the fiddly tubing and how flexible it was, and hard to get on the connectors. The tubing was too pliable to slip on tight and it wouldn't go far enough to the shoulder of the emitter stake. So they popped off repeatedly, they just aren't on tight and won't push or slip any further.
This second kit had stiff tubing and it slid on right up to the shoulder of the stake in one quick push. Easy.
What a difference and how much time saved on my hands and knees trying to fit tubing to emitter. Sheeesh.
I ordered 40 landscape staples from Lee Valley. That will help keep some of the popped up tubing and main line in place. Still to do:

Add one more emitter at the Vanessa parrotia
Bury the line through the dining room window garden and out into the gravel and somehow get the line snaked into the ajuga area
Install the emitter stakes in the dining room window garden, and ajuga area.
Mulch the areas with newly installed stakes.
Get those landscape staples to pin things down.
Fourth of July
Ran out of stakes.
Almost there -- only the ajugas under the pine need to have the emitter stakes installed, but I ran out of stakes. So I ordered 15 (3 pkgs of 5) mini bubblers from Lee Valley and will have to wait for them to come.

These are the ones that swirl water around from the top.

By the time the water gets all the way down to the end of this line there is so little pressure there, and these sprayer-bubblers seem to throw a bit more distance.
I don't need 15, maybe just 8 or 10 for the area under the pine, but in the end I may add a few more to the lines I already installed to get more coverage in places.
Then all that is left is getting timers, installing them, and figuring out times and schedules. I have all the rest of July to get to that. I don't know if I can get timers to fit on the splitter tied to the fence. Maybe?

When it's all done, I still won't have any irrigation to these areas:
- The Mojave sages in front or the new fernbush or the Honeycomb butterfly bush. Eventually all of those can go a week between waterings but while they are new and little they'll need watering.
- The Major Wheeler honeysuckle and sumac. I'm hoping they can go a week between watering.
- The triangle by the front walk. Certainly the lavender and red yuccas and even the little pineleaf pentstemons can go a week without water, but the new stuff -- agastaches, sedums, threadleaf fleabane and monardellas -- can't go that long yet.
- All the pots and containers.
July 6, 2020
I'm at the final steps, and I am rethinking some things at the very end now.

First -- the ajugas have to go. They just aren't doing well and will need a lot of water all the time and they're at the end of this line.
I'm taking them out, and just filling back in with red rocks. I don't need flowery green anything here, the rocks are fine -- a negative space.
The hose feeder line that I installed down here will curve the other way along the outside of the space under the pine, to water the Dark Towers penstemons, and that's all.
It turns out I have just enough spikes left to complete that space if I don't have the ajugas to water. But I'll still probably find a use for some of the 15 mini bubblers I just ordered.
In fact . . . my second thought is to run the remaining 1/2 inch feeder hose from the faucet in front to the new things in the front walk triangle.
I can use the mini bubblers there.